In its most basic form, a gata—also known as “kata,” “gata,” or “katah,” depending on who is transcribing—is a buttery, mildly sweetened, Armenian cake, bread, or pastry intended to be eaten as a dessert, as part of a mezze (appetizer) spread, with coffee or tea, or as a snack.
Various Gata Types
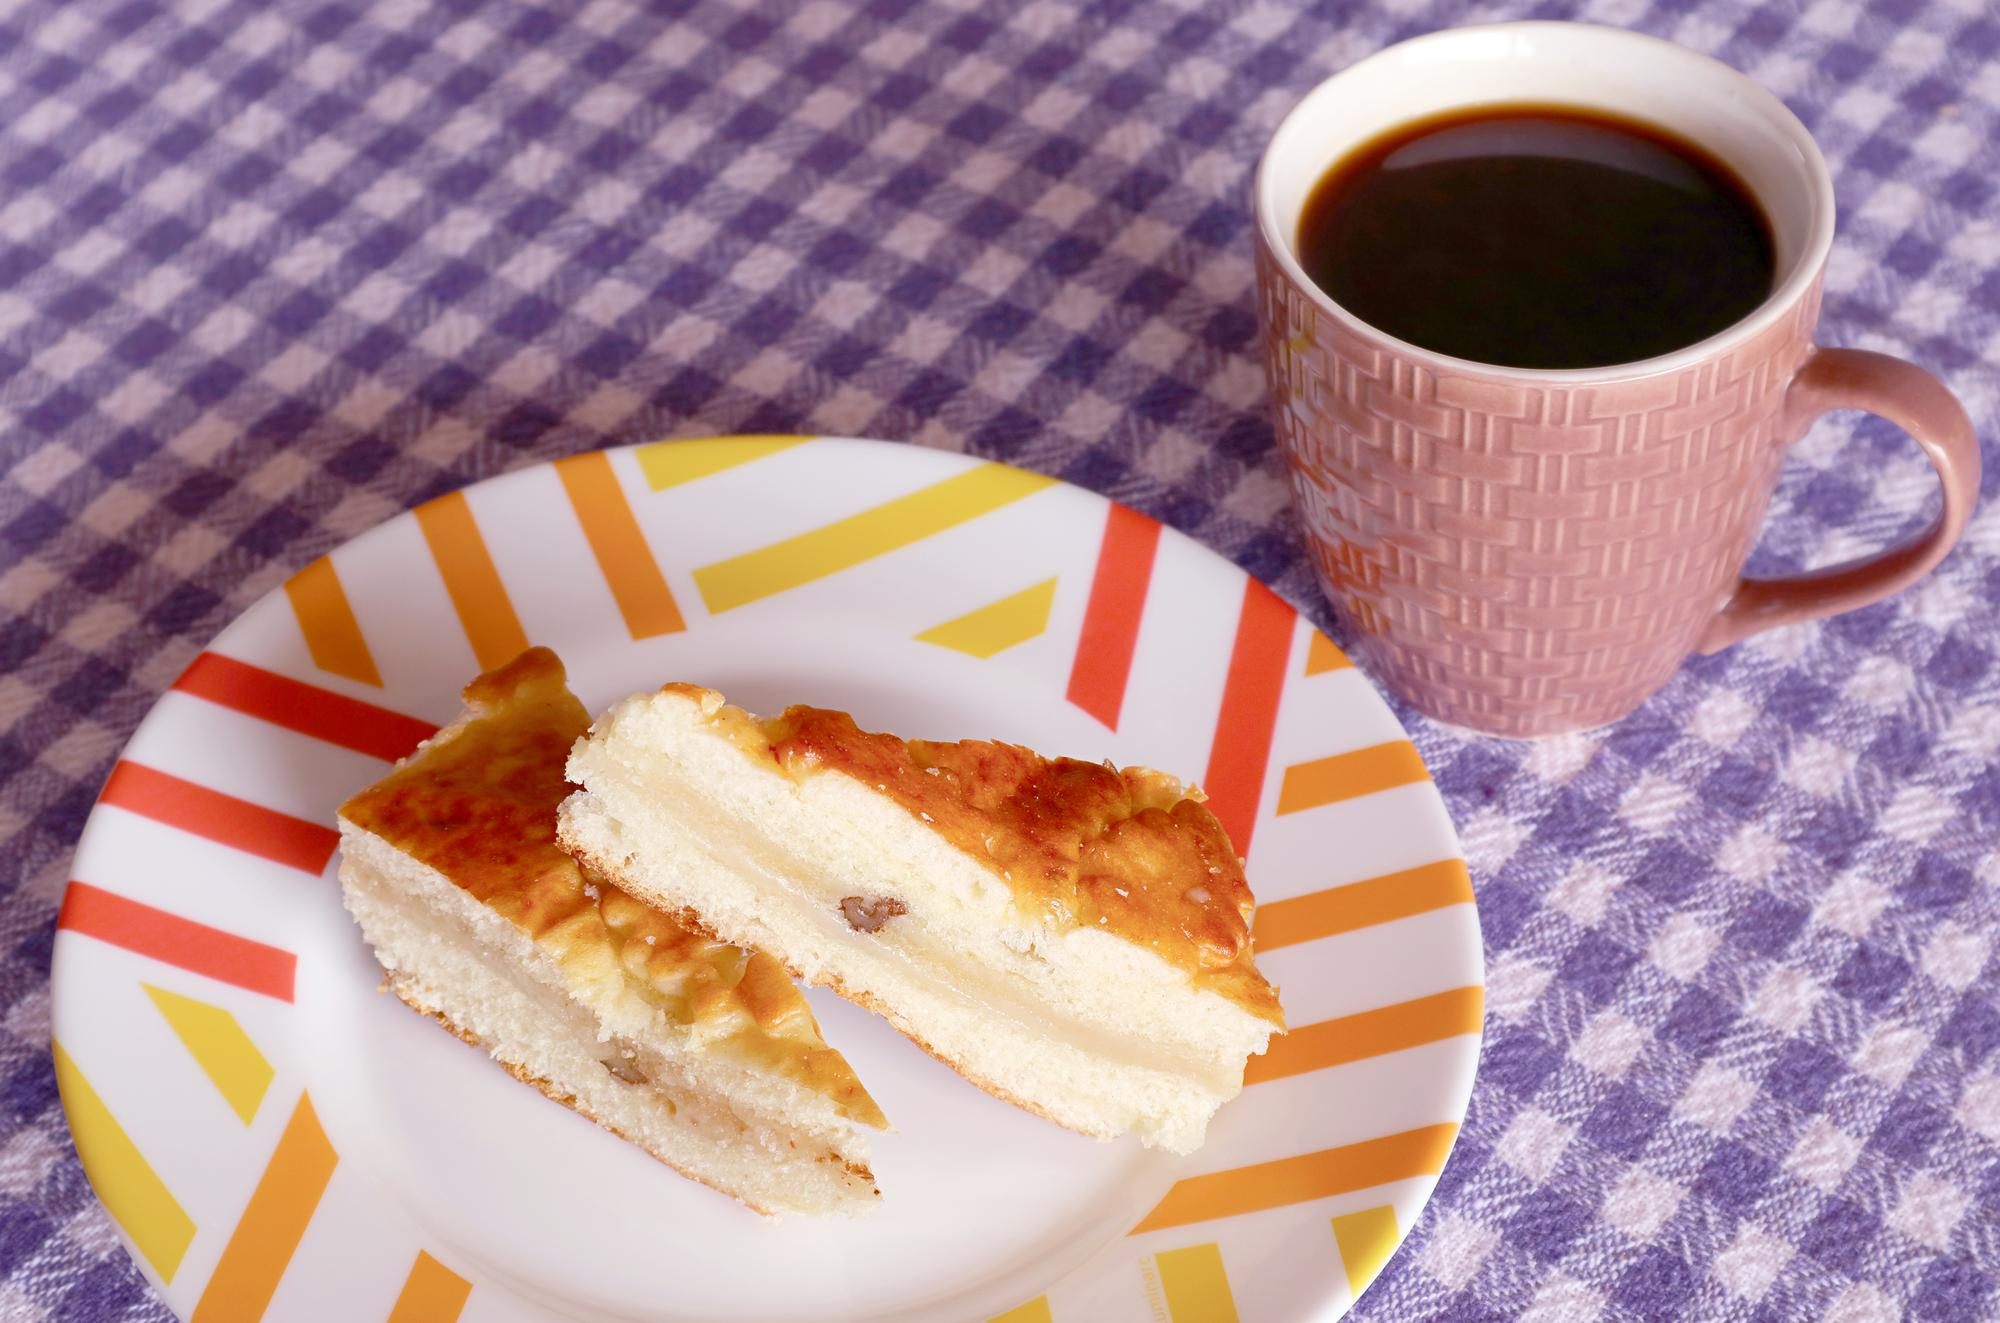
Some gata are made from enriched bread dough that is rolled into paper-thin, table-wide sheets using a “okhlavoo” (a wooden dowel specifically designed for working with dough), spread with butter, sliced into spirals and rolled up like a carpet before baking to create layers and crispness. These gata resemble croissants. Others, whether they’re produced with yeast, baking soda, or dough acidified by acid dairy, are sweeter and unmistakably more cake-like. These less complex gata are frequently decorated with dough strips in decorative patterns or by scoring designs onto the top before baking.
There are several styles used in making Gata. I had a tough time deciding which to pen down for this recipe. In addition to wanting something with a sweeter flavor profile—more similar to coffee cake than savory bread, I also wanted the preparation to be as easy as possible. I decided to go with a cake filled with walnut khoritz that was made using yeasted dough because I love bread and I knew I wanted some yeast in the recipe.
How to make your Gata dough tender
I made a dough that is buttery and tender, and a big part of that is because I hydrated it almost wholly with Greek yogurt. A single egg gives the crust structure and gives it a light yellow hue, and a tiny bit of baking soda helps to make the gata’s crumb even lighter.
In terms of the fermentation itself, I give the dough a head start on proofing by letting it sit at room temperature for 30 minutes before placing it in the fridge for a minimum of four hours (or as long as 24hours). It is simpler to roll out and shape the dough when it is chilled in the refrigerator while it proves.
Ingredients
For the Dough:
- 285g of all-purpose flour
- 1 1/4 teaspoons instant yeast
- 1/8 teaspoon baking soda
- 2 teaspoons (6g) salt
- 140g unsalted butter, softened
- 60g (about 1/4 cup) sugar
- 140g (about 2/3 cup) plain Greek yogurt (whole or low-fat)
- 1 large egg, lightly beaten
For the Filling:
- 85g walnuts, lightly toasted and roughly chopped
- 70g (about 1/2 cup) all-purpose flour
- 60g (about 1/4 cup) sugar
- 1/4 teaspoon salt
- 60g (4 tablespoons) unsalted butter, melted
- 2 teaspoons (10ml) vanilla extract
To Finish and Bake:
- 1 large egg, lightly beaten with a pinch of salt
Directions
- To make the dough: Combine the flour, yeast, baking soda, and salt in a medium basin. To create a smooth paste, aggressively mix the butter and sugar in a large basin using a stiff rubber spatula. Add the flour mixture to the butter mixture after wiping off the bowl and lightly greasing it with butter or cooking spray. Mix the flour and butter mixes with a spatula and then your hands for 1 to 2 minutes, or until a uniform, cornmeal-like consistency develops.
- Use a spatula and then your hands to whisk in the yogurt and egg until a stiff, even dough forms; this should take approximately two minutes. Place the dough in the prepared, medium, lightly oiled basin, and secure the lid. After 30 minutes of sitting at room temperature, move to the refrigerator and chill for at least 4 hours and up to 16 hours.
- In a medium bowl, combine the flour, sugar, salt, and walnuts to make the filling. A rubber spatula should be used to whisk in the butter and vanilla extract until a clumpy paste forms and no dry flour is visible, which should take around 30 seconds. When not in use, cover and keep at room temperature.
- Finishing and baking instructions: Center the oven rack and heat the oven to 375°F (190°C). Dust the dough’s top with a little flour after transferring it to a clean, lightly floured surface. With your hands, evenly push the dough into a 6-inch circle, adding flour as necessary on both sides to keep it from sticking and pinching any significant cracks in the dough closed. Roll out the dough into a 12-inch circle that is 1/4-inch thick using a rolling pin.
- With clean hands and a rubber spatula, spread the filling evenly across the middle of the dough, leaving a 3 1/2-inch dough border all around. Working your way around the disc, begin at one end and fold and pleat the dough over the filling toward the center. To completely contain the filling, pinch and squeeze the pleats together. To create a consistent 6-inch circular, lightly press the dough’s surface. With the seam side on the bottom, invert the piece and shape it gently into a 9-inch round using a rolling pin. Transfer with caution to a baking sheet with a rim that is parchment or silicone baking mat lined.
- With the thumb and index finger of each hand, pinch dough around the border of the gata to create decorative points that are spaced about an inch apart. Apply an equal layer of egg wash to the gata’s top and sides. Drag a fork’s flat bottom across the top of the gata to create a pattern of crisscrossing grooves that are spaced approximately an inch apart. Make 8 to 10 evenly spaced holes in the dough’s top with a toothpick; stop when you reach the filling. 28 to 35 minutes of baking time, flipping baking sheet after 20 minutes, or until evenly golden brown.
- After transferring the baking sheet to a wire rack, give the gata at least 20 minutes to cool. Serve after cutting into wedges.